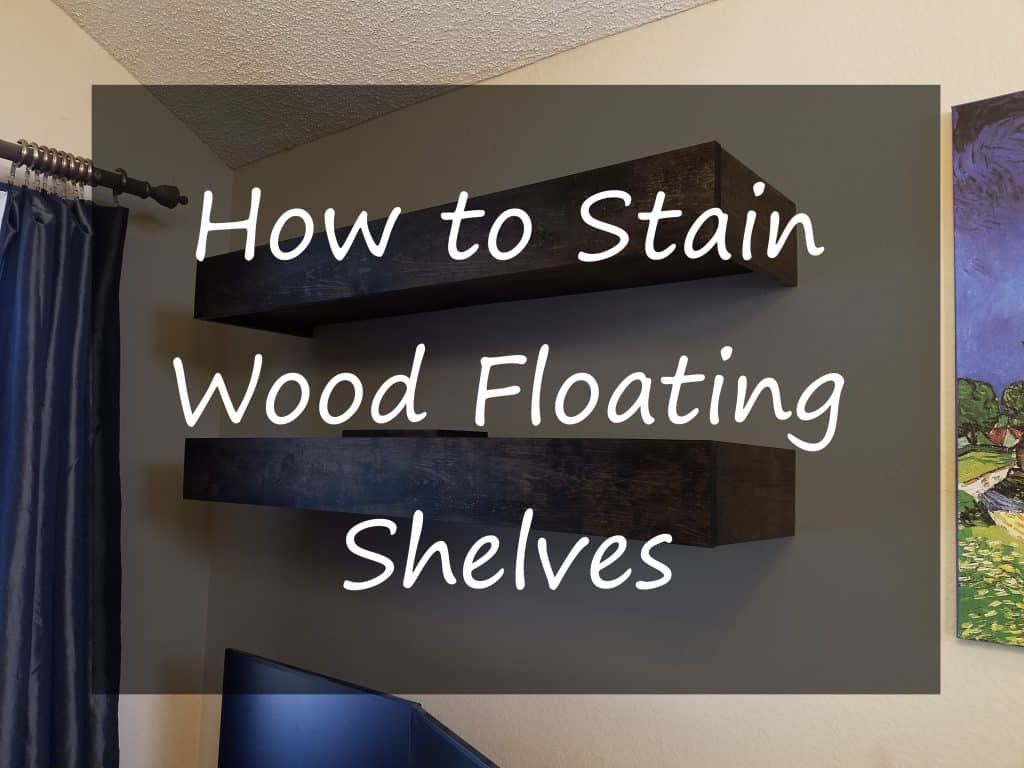
Are you wondering how to stain shelves? I just finished applying stain to my wood floating shelves. It is a fairly simple process, but there are some key steps when you stain wood floating shelves that you need to take to make the process easier. In this post, I will detail how I stained my shelves and the steps you should take to make it easier if you are doing the same.
Want the look without all the effort?
✅ Check out these stained wood shelves on Amazon
I had previously built and mounted the floating shelves that I talked about here. I love this DIY home decor project. It was relatively easy to complete and these shelves add so much storage to my office on what was previously an empty wall. The steps here are a good introduction to staining wood for beginners. Staining wood is one of the easier finishes to put on a project. It is definitely not something to be scared of. The easy steps and tips for staining wood that you find here can get you going staining any project, not just wood shelves.
Supplies to Stain Wood Shelves
- Wood stain
- Painter’s tape
- Disposable rubber gloves
- Disposable rag
- Magic Eraser for clean-up
To stain wood floating shelves, or any wood, you should start by gathering materials. At a minimum you will need wood stain, a rag for staining that can be thrown away afterwards, and some rubber gloves like these here. If you are staining something that is mounted to the wall like my floating shelves, you will also want painter’s tape to keep the stain off of the wall. I used this painter’s tape. If you wood is in a high place, you may also want a step ladder.
How to Stain Shelves – Inspect your Project
The very first step when you are going to apply stain to a project is to inspect the project. Make sure that your wood is nice and smooth. You will not be able to sand it down after staining without removing the stain. So if needed, get a fine grit sandpaper and smooth it down now. You also want to make sure that your project is clean. There should be no dust visible. Often, I will wipe my project down to make sure that there is no dust or dirt on it before I apply stain.
Staining Shelves Step 2 – Prep your Area
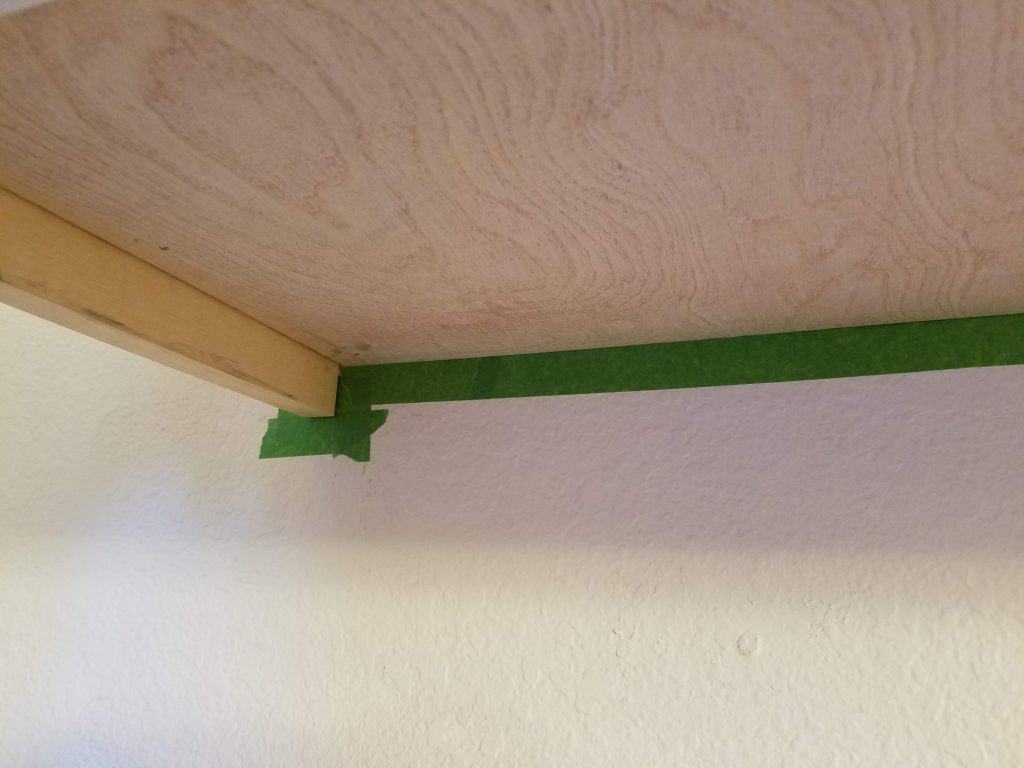
My floating shelves were already mounted completely to the wall when I needed to stain them. To stain wood floating shelves that are already mounted, I started with applying the painter’s tape all the way around the shelves. This keeps the stain from getting on the wall. If your wood that you want to stain is close to or touching something you do not want stained, this is how you keep the stain off of it. Make sure that the painter’s tape is as close to the edges of your shelves as possible. Also be sure that you press the tape down firmly to avoid the stain bleeding under it.
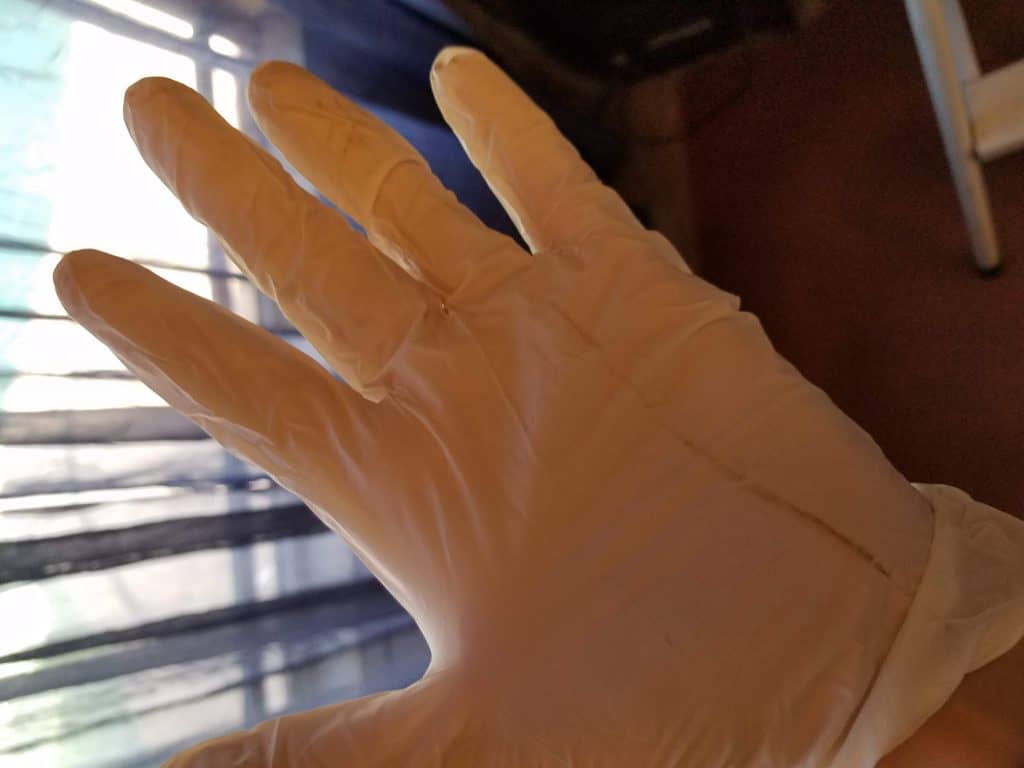
After applying the painter’s tape, it is almost time to stain the wood floating shelves. Before opening the stain up, put on your rubber gloves. I used to stain without gloves. Simple food prep gloves like these work wonderfully to keep the stain off of your hands, and to keep your hands from stinking like wood stain for the rest of the day. Do yourself a favor and use gloves if you are going to be staining wood.
Staining Wood Shelves Step 3 – Start Staining
After you have your gloves on, you are ready to start staining your wood. To stain wood floating shelves, dip a corner of your rag into the stain. You want the rag wet, but not at all sopping. You do not want excess stain on your project. Excess stain causes blotchy spots and drips. Drips are bad. You’ll apply stain by rubbing the rag gently across your wood to be stained. You are trying to apply a thin, even layer across your wood. As you apply the stain, your wood should not look wet where you have stained. You want a really thin layer. If the wood looks wet after you have applied stain, spread the stain out more so that it does not. I applied one coat of stain here, that was enough coverage for my project. Yours may end up needing more than one coat of wood stain. Just remember to apply the coats of stain as lightly as possible.
How to Stain Wood Shelves Step 4 – Clean Up
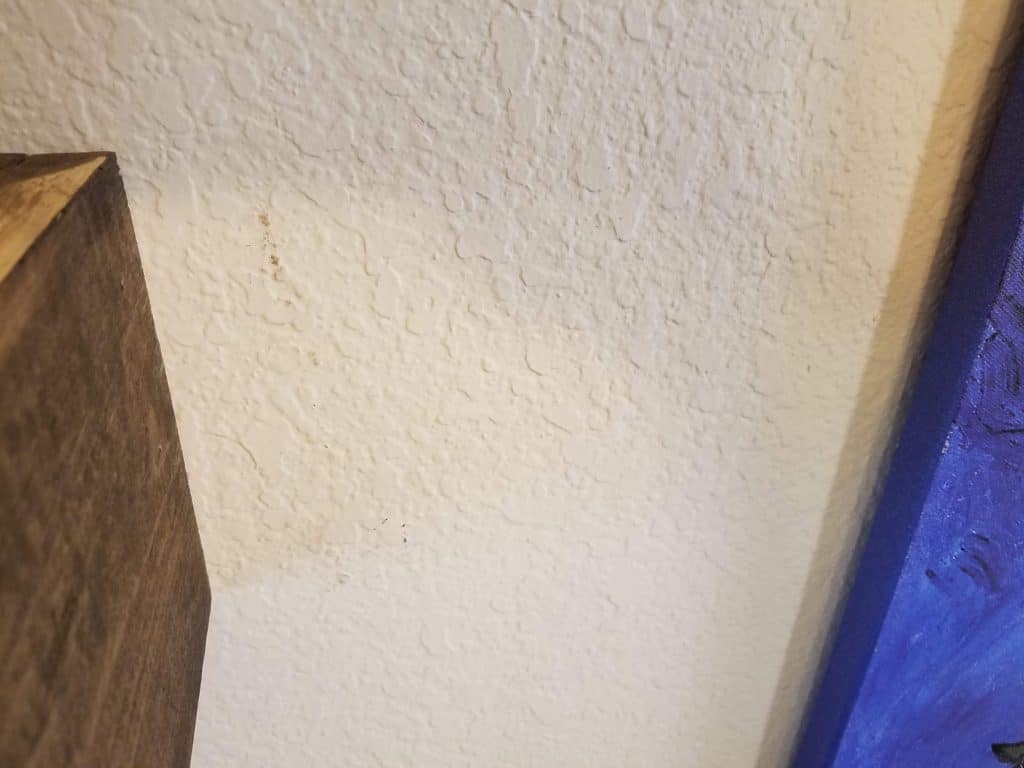
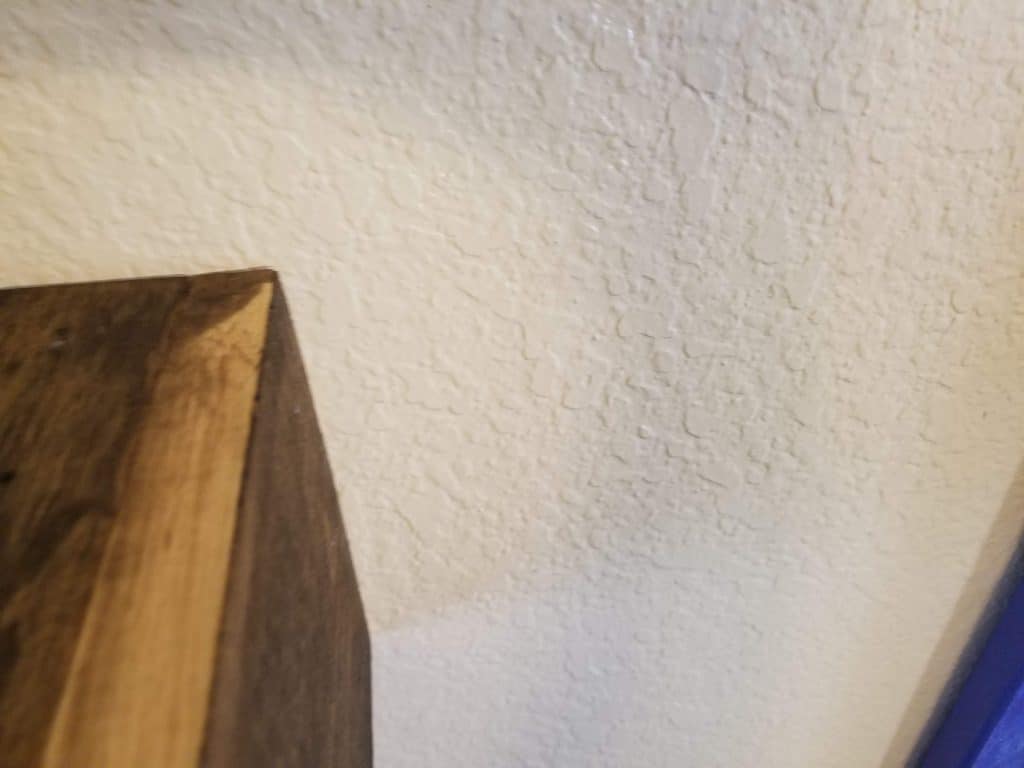
If you accidentally stain outside of the tape, use a clean corner of your rag to wipe the stain away. After you are finished applying stain, you can remove the painter’s tape. Make sure that you are careful when you remove it so that none of the stain on it goes where you do not want it. If there are any spots from where the stain got out of control, a damp Magic Eraser will work well to wipe it up.
That is all it takes to stain wood floating shelves. This is a quick and easy project that has little prep work. It took me about an hour to stain my two wood floating shelves.
Enjoy your new Stained Wood Floating Shelves
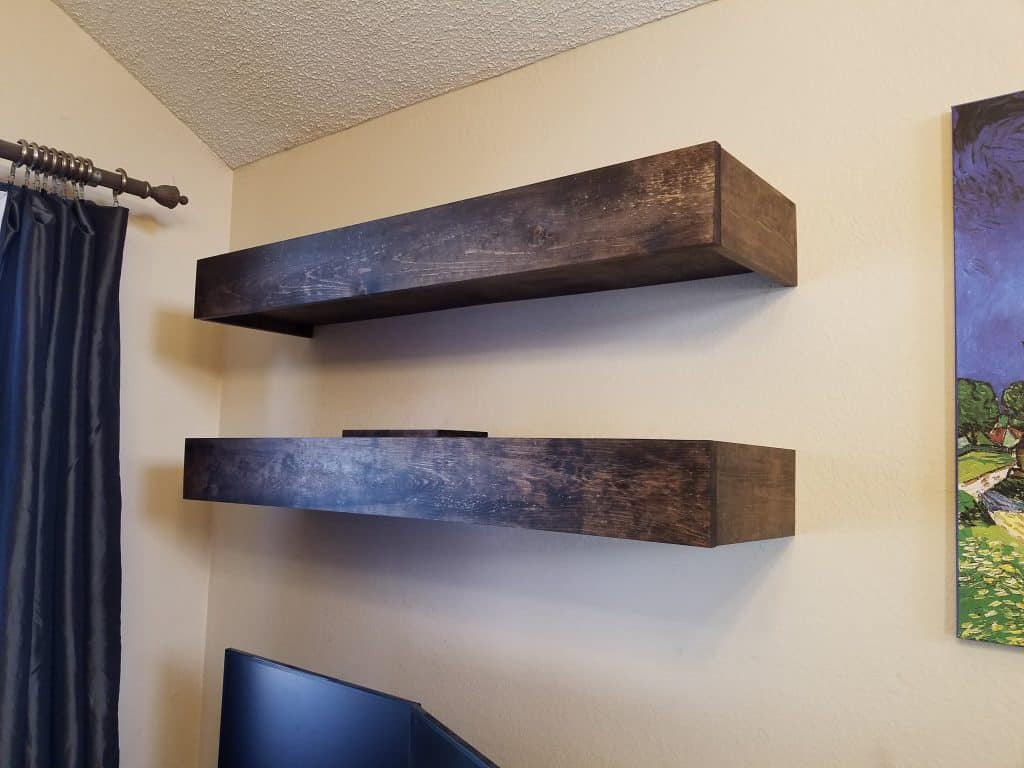
After you’ve stained your shelves and cleaned everything up you will want to let the wood stain dry. Let your stain dry for at least 24 hours before putting anything on your shelves. I know it’s tempting to start putting things on your new floating shelves right away. Resist this urge. The stain only looks dry because you applied such a thin layer. If you place things on your stained wood shelves before the stain is completely dry, you will end up with wood stain on your things. Ask me how I know. 😐


Get the look without the effort
Want to have your own stained wood floating shelves without the effort involved? Check out these shelves on Amazon. They are 24″ x 6″ x 2″ – so about half the size of the shelves pictured above. These wood floating shelves take much less effort to install and come pre-made.
