My house is getting older. Because of it’s age, my house’s irrigation system breaks frequently. Broken irrigation tubes are a common problem for my house. It seems that I fix one leak, just for another to spring up. Irrigation leaks are annoying, can cause plants to die from lack of water, and cause you to waste water In this post, I’ll show you how to fix a broken irrigation tube.
A word of warning before you get started here. Know what’s in the area where you will be digging before you dig! If you’re not sure what’s in the area, you can reach out to your local utilities and have them come out and flag any potential gas or power lines. You do *not* want to find one of these by accident. Make sure that as you dig, you are careful – regardless of if there are gas and power lines around. You are digging to locate underground water lines. You don’t want to make the break worse with overly enthusiastic digging.
For this repair, you’ll need a shovel of some sort. You will also need heavy scissors, some new irrigation tube, and irrigation tube joins. I like this irrigation tube and these joins.
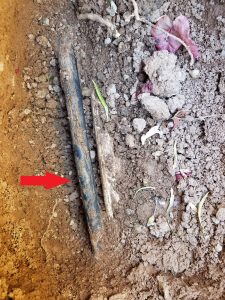
The first, and hardest thing when you fix a broken irrigation tube is finding the leak! I have dug into the ground countless times where I thought a leak was, just to find out that the leak was a foot over. I find the best way to locate a broken irrigation tube is to have the water flowing, and digging along where it’s coming from. However, with larger leaks this can leave you with a pool of standing water. There really is no tried and way that I’ve found to locate the break in an irrigation tube other than turning the water on, and digging until you get to where it’s coming from.
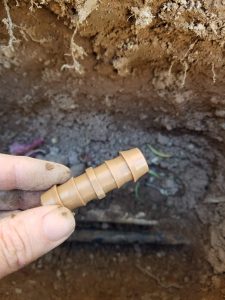
Once you’ve done the hard part and located the leak, it’s easy to fix a broken irrigation tube. Your can find replacement tubing here, and joins for connecting tubing here. You will need some new tubing (the length will depend on the length of tube you’re replacing). You will also need at least two tube joins. I recommend using these joins that go inside of the irrigation tube. They go together a lot easier than the ones that slide over the outside of the tube.
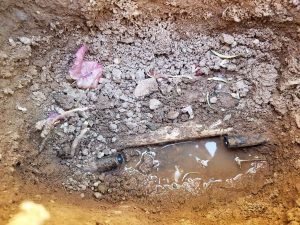
Make sure that the hole that you dug out is drained fairly well. Some water will flow out of the tubing when you cut it. Take your broken irrigation tube, and cut out the chunk that is broken. I usually cut about 10″ to 12″ of tubing out at a minimum. Having a longer section cut out makes it easier to join the new tubing in. Make sure that your edges of tube are fairly clean cut and squared off. This makes the join to the new tube more secure.
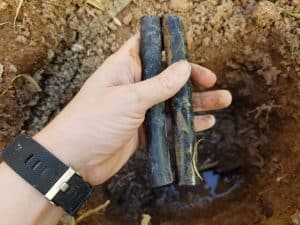
Cut out a chunk of the new tube just a bit shorter than the old tube. I usually cut the new tube 1/4″ shorter than the old one. Make sure that your old tube is cleaned out on the inside, and relatively clean on the outside. Stuff both of the joins in the new tube, then join one of the ends of the new tube to the old tube. You will have to press pretty firmly to get the connectors all the way in the tube. Once that end is fully seated, do the same with the other end.
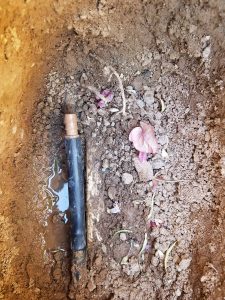
After your broken tube is replaced, turn the irrigation system on and make sure that the leak is completely fixed before you bury it back up. If everything looks good after running the irrigation system, be sure to bury your irrigation tube and any pipes back up.
